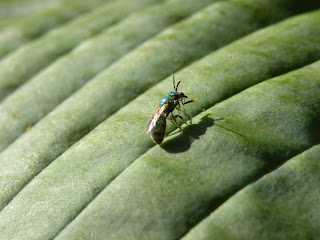
Here is the original photo:
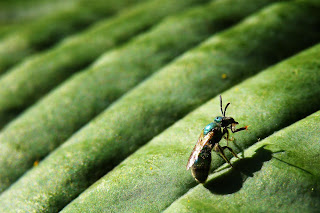
 And here is the end result:
Steps:
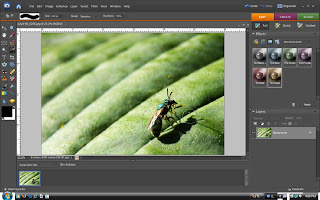
1. First I cropped the image. I really liked how the lines lead your eye to the bee, so I didn't want to cut too much of that out. I also really liked the shadow and the out-of-focus area at the top left corner of the photo. With that in mind, I cropped as much as I could out of the image.
2. I always sharpen my image. Even if it doesn't look like it needs it, I am always surprised by how much sharper my image is afterward. I went to the "Enhance" drop-down menu at the top of the screen and clicked on "Unsharp Mask". Normally I have the numbers set at: amount 175%, radius 2 pixels, and threshold 3 levels. But this photo is more detailed, so I set the numbers to: amount 150%, radius to 1.5 pixels, and threshold 4. It all really depends on what works for the individual photo.
3. The color was really good, so next I just adjusted the contrast (go to "Enhance" and click on "lighting" and then "Brightness/Contrast"). I really love contrast, so I increased the contrast to +100.
4. Next, I wanted to emphasize the bee more, so I used the selection brush and made a selection of the bee and it's shadow. I made sure to include lots of the surrounding leaf as well.
 5. Then I pressed shift+ctrl+I to invert the selection. Now everything BUT the bee and the surrounding leaf was selected.
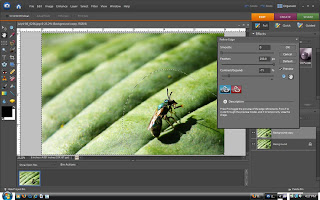
6. Next I went to "Select" clicked on "Refine Edge" and set the numbers to: Smooth 0, Feather: 250 px., and Contract/Expand: -71%.

7. Next I clicked the bucket tool and set the numbers to Opacity 55%, Tolerance 255, and set the mode to "Soft Light". Then I clicked inside of the selected area.
8. Then just ctrl+D to deselect, and I have my enhanced image! I use this simple process on most of the photos that I enhance.
Something not clear? Have a question? Feel free to ask by leaving a comment below!
